Manually Add Domains and Servers
Introduction
This how-to guide will teach you how to add your own domains to AIO.
How To Add a Domain Manually in AIO
- First, you need to change your domain's NS (Name Servers) to the correct DNS provider, one that is already available in the system. You can see your DNS providers in Settings → DNS Providers.

- After changing your domain’s NS to the correct DNS provider, go to Domains→ +Domain → Add manually. Alternatively, you can add multiple domains at once. To do so, select Add Manually in Bulk.

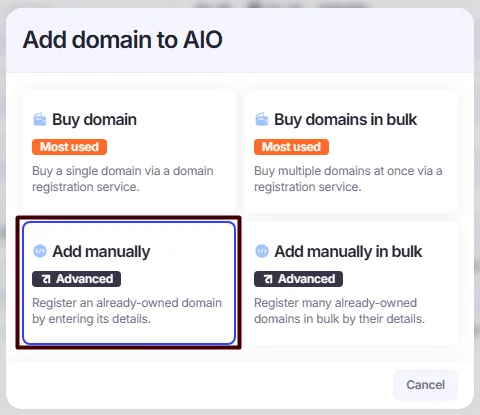
3. Fill in the name of your domain, choose a server on which you want your domain to operate, and select the DNS provider to which you previously updated your domain’s NS. You can also assign a monitoring user here, who will receive notifications from the AIO Tech Bot when the domain is down.
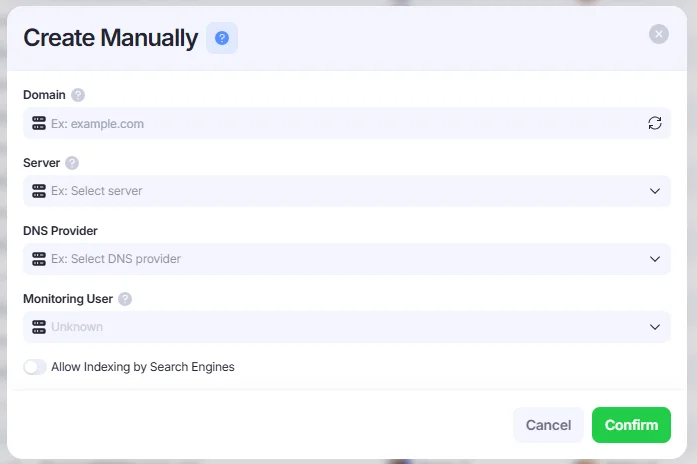
- Click Confirm to save your domain.
How To Add a Server Manually in AIO

- Click +Server→ select “Add manually”:

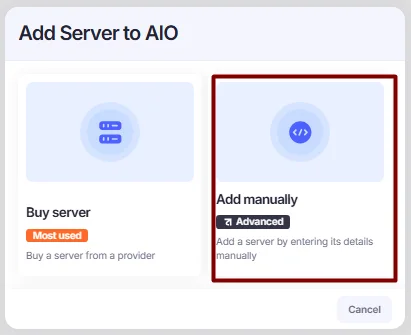
- Fill in the fields:
- Name: Enter any name.
- Description: Enter any description.
- Tags: Add relevant tags.
- IP Address: Enter the IP address of your server.
- Monitoring User: Select a monitoring user who will receive notifications from the AIO Tech Bot when the server is down.
- Repoint Group(optional): Enter any value. Repoint groups help organize and assign domains to specific servers during autorepointing, preventing domain/server mixing across different verticals.
- Deployment Script: AIO Agent&Script.
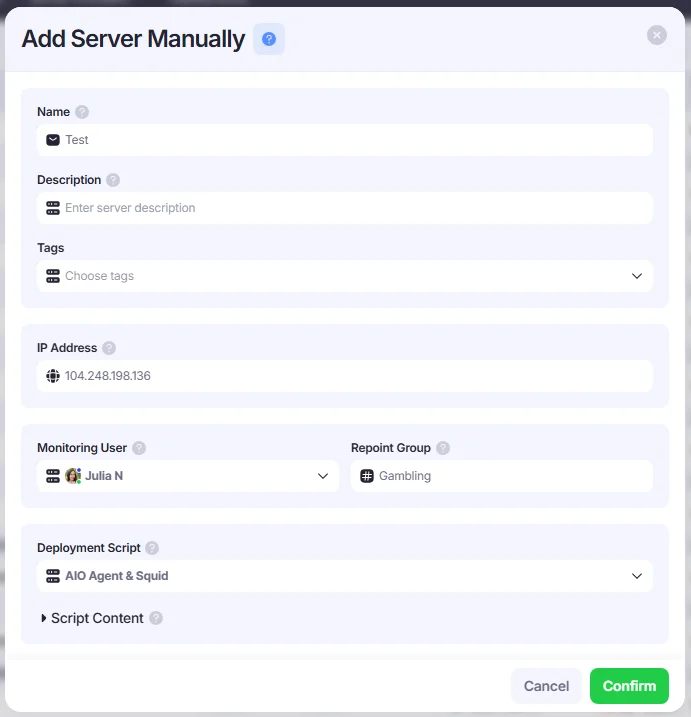
- Copy the script from the Script Content field and deploy it on your server to install the AIO Agent.
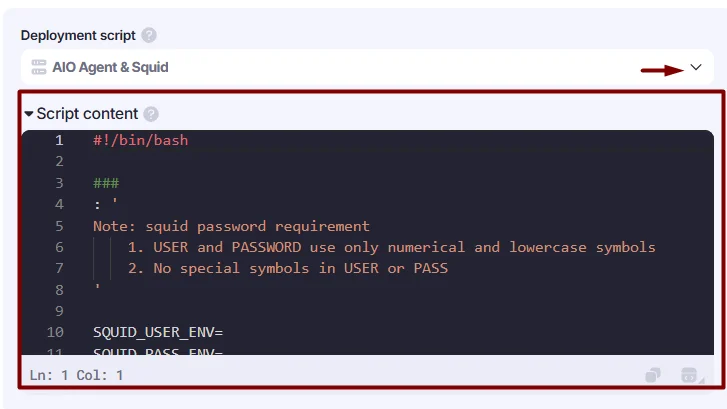
- Click Confirm to save your server.
How to Install the AIO Agent On Your Server
- Connect to the server via SSH.
- Create a script file:
nano install-aio.sh - Paste the script contents into the file and save it.
Press Ctrl+O, then Ctrl+X.
- Make the file executable:
chmod +x install-aio.sh - Run the script as root (if you are not root):
sudo ./install-aio.sh