Install 3rd-Party Postbacks in AIO
Introduction
This guide explains how to set up third-party postbacks in AIO to ensure proper tracking and data synchronization with external platforms. Installing third-party postbacks is a key step when creating new Sources in AIO.
How to Install 3rd-Party Postbacks
- Go to Settings→Trackers. Click the +Tracker button.

- Select the Tracker type from the available options. If the source you’re installing postbacks for doesn’t support a conversion API (such as Facebook CAPI or TikTok Events API), choose HTTP GET as the tracker type.
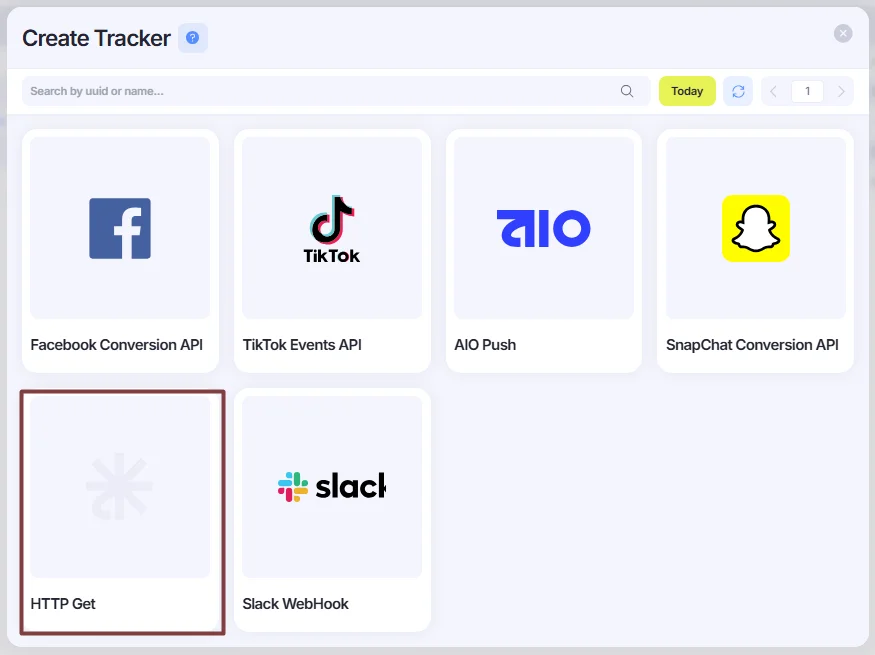
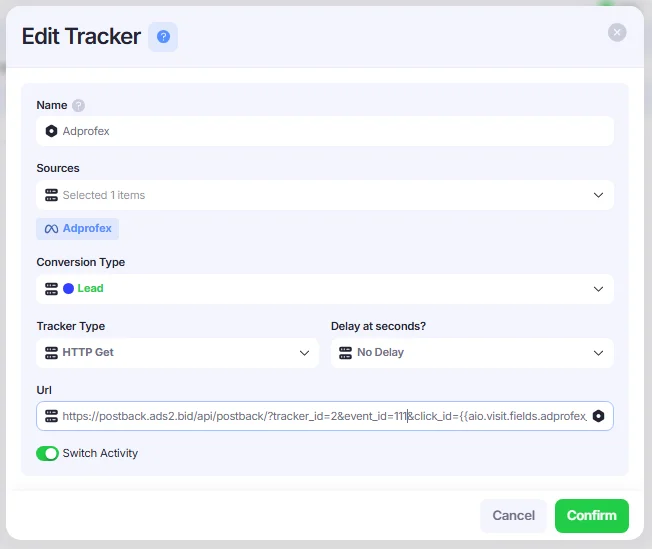
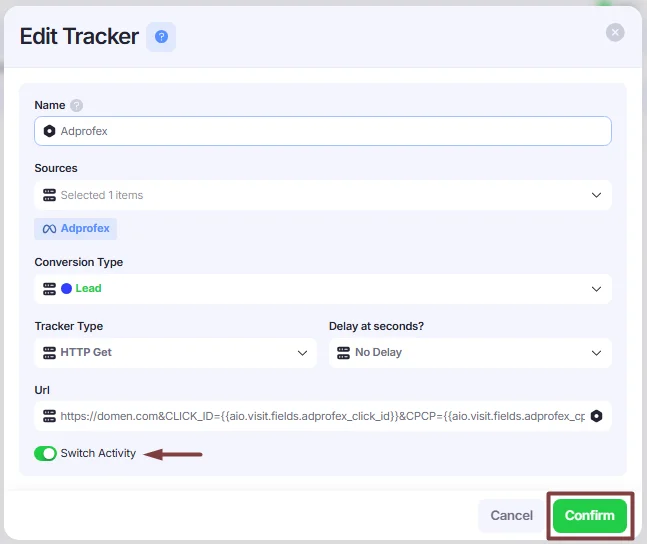
- Fill in the fields:
- Name: Enter the name to identify the postback in the list (e.g., Adprofex Lead).
- Sources: Select source(s) you’re installing the postback for.
- Conversion Type: Select the conversion type that will trigger the postback.
- Tracker Type: Is already preselected in the previous step
- Delay at Seconds: Enable a delay if needed or set as No delay.
- URL: Paste the postback URL. Make sure to replace necessary macros with the appropriate AIO placeholders. For example,
click_id={{aio.visit.fields.adprofex_click_id}}, where click_id corresponds to the specific AIO field used for click ID transmission for that source.
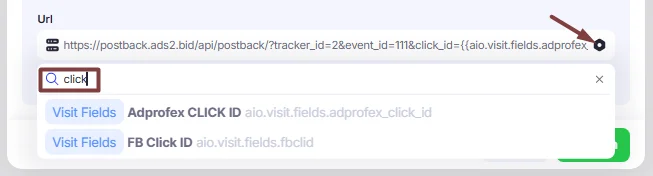
The list of AIO placeholders can be accessed by clicking on the hexagon icon.
- Enable the Switch Activity toggle to activate the postback, then click the Confirm button to save your settings.
How to View the Postback Logs
You can monitor postback activity in AIO by accessing the postback logs. This helps verify that events are being sent correctly.
- Right-click on the desired postback and select Show Logs from the context menu.
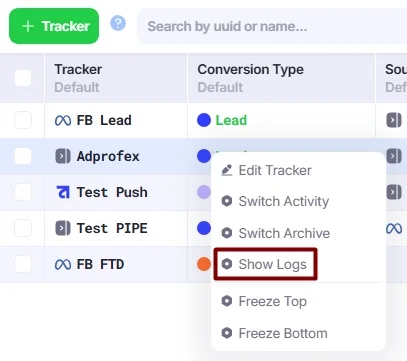
- You’ll see the Show Logs window, where you can view detailed information about postback performance. Click the Message field to open the full log record. Please note that this field is protected by two-factor authentication (2FA), and only users with 2FA enabled will be able to access it.

How to Re-Trigger Postbacks
If you need to re-send a postback for already created conversions, follow these steps:
1. Open the list of conversions by navigating to Conversions.
- Select the conversion(s) you want to re-trigger the postbacks for by checking the boxes on the left side of the list, and choose the Re-Trigger Trackers action.
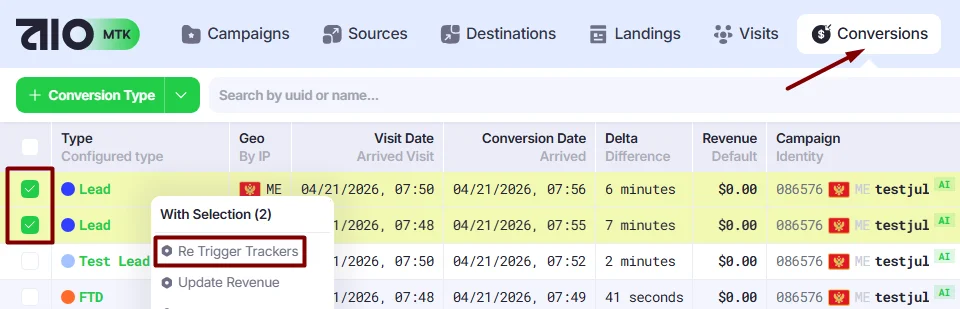
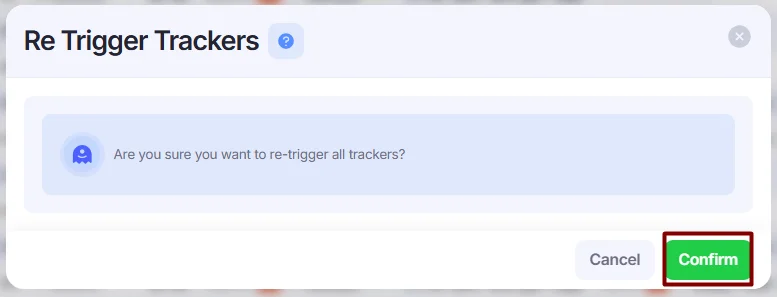
- Click Confirm to re-trigger postbacks for the selected conversions.