Set Up a Campaign
Introduction
This guide will walk you through the process of creating a Campaign in AIO.
Before you begin, make sure you've already added all the necessary components—uploaded Landing Pages, added Domains, created Sources, and configured Destinations. These elements are essential for building a complete Campaign.
If you haven't done so yet, please refer to the following guides first:
How to Buy Servers and Domains in AIO
How to Set Up a Campaign
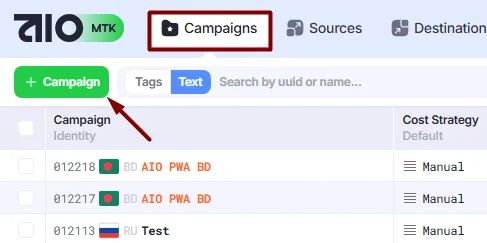
- Open the Campaigns section. Click the +Campaign button.
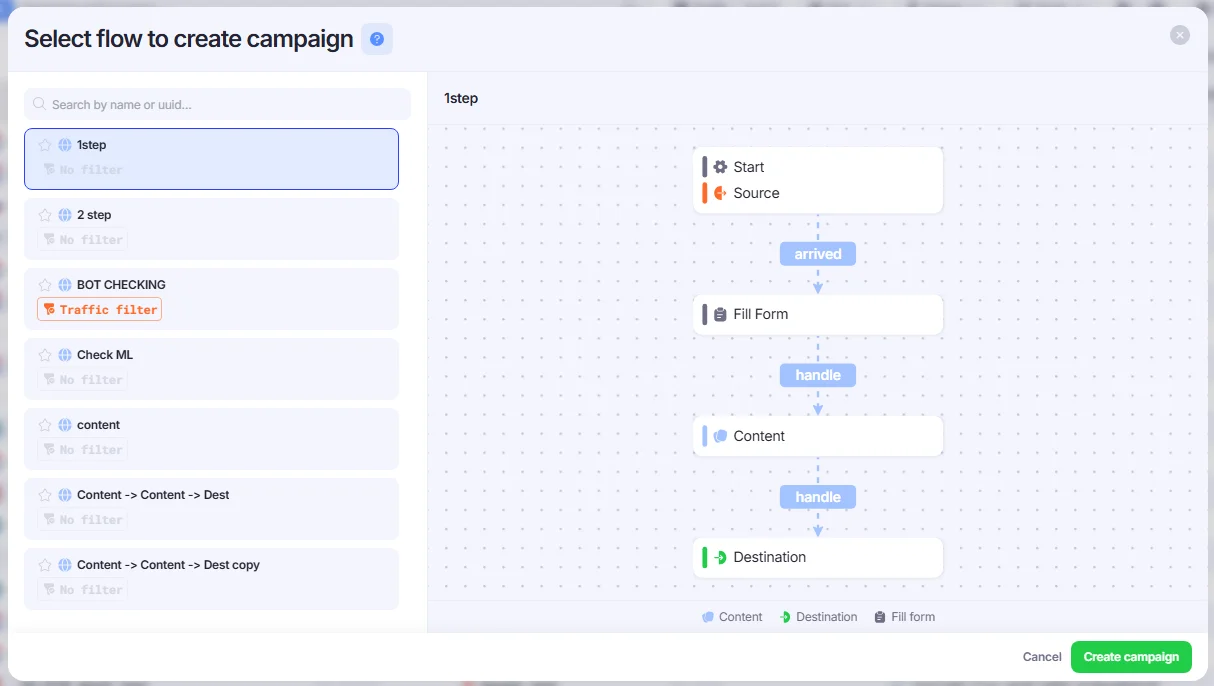
- Select the Flow from the available Flow options. The chosen Flow defines how traffic will move through your Campaign—for example, whether it goes through a Landing Page first or is sent directly to the Destination.
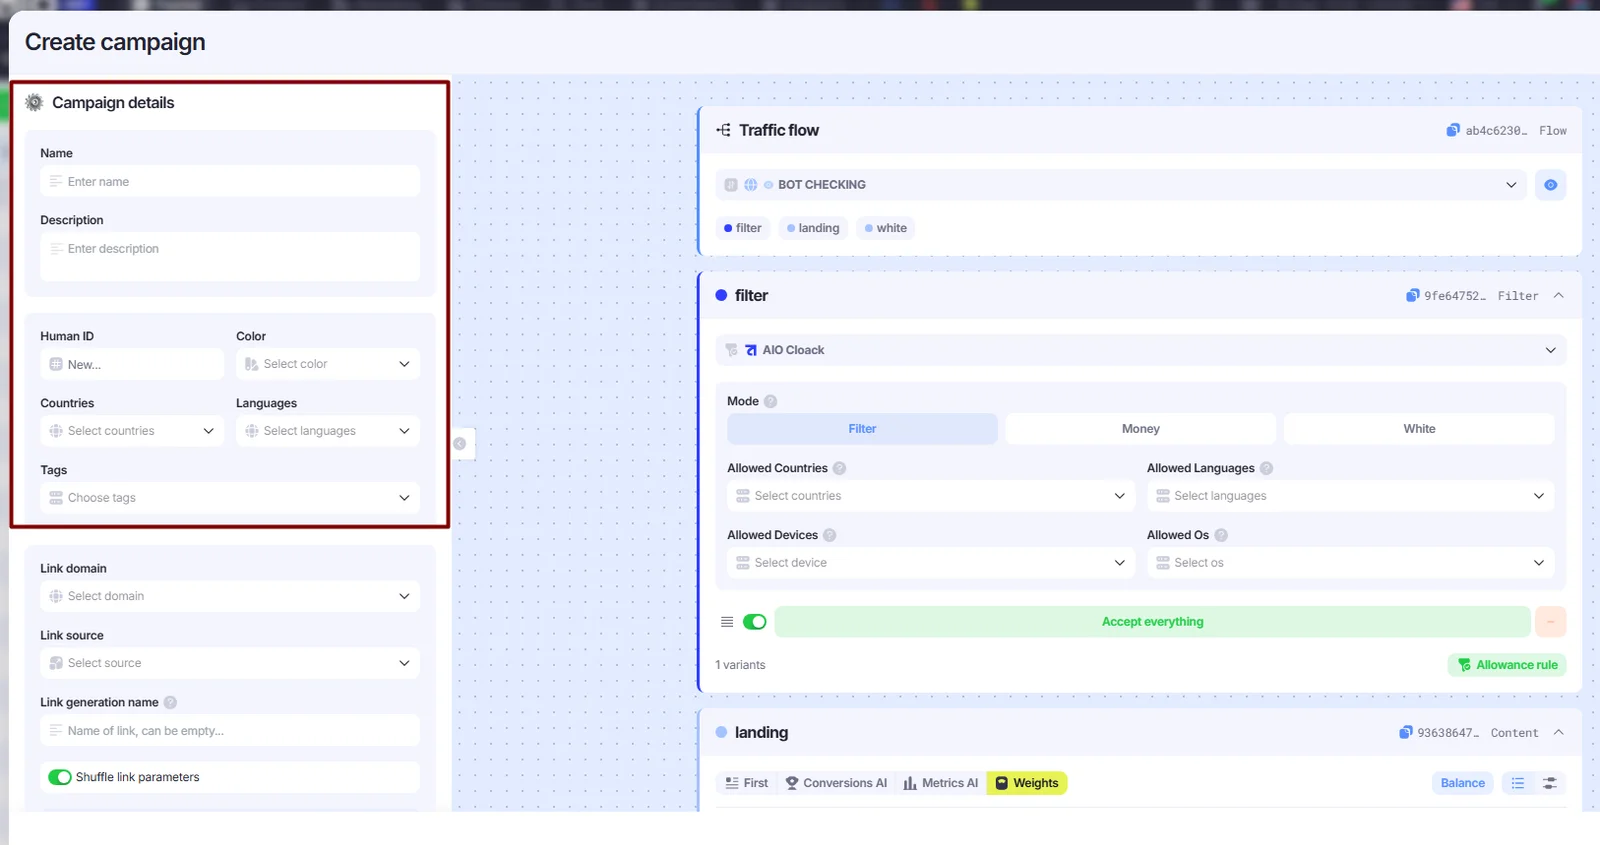
- Fill in the campaign Details:
- Name: Enter your campaign name.
- Description: Enter a description if needed.
- Countries: Select countries if needed.
- Languages: Select languages if needed.
- Color: Assign the color that will be used to display the campaign in the Campaigns table.
- Tags: Enter parameters for easier search (country, test mark, your name, etc.).
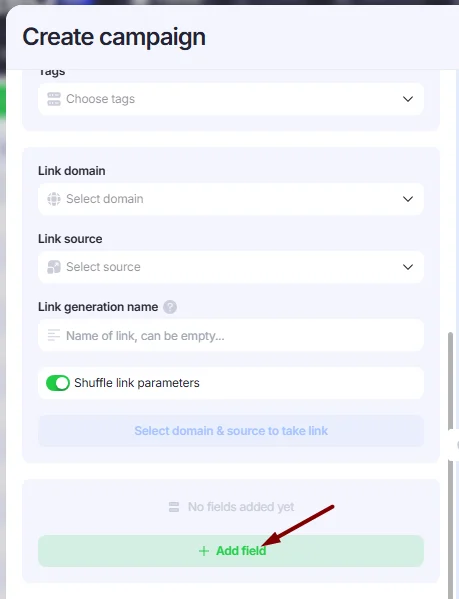
If your campaign has other optional fields, fill them in as needed. Although these fields won’t appear in the final link, their values will still be automatically applied to each Visit associated with the campaign.
To include optional fields in your campaign, click Add field and select the desired field from the list. *If you need to add additional Campaign fields, please contact our support team for assistance.
- Configure the Cost Update Strategy to automatically pull costs from the Meta section. If you use full links with the FB Ad ID parameter, you can leave it set to Manual — costs will be fetched automatically and displayed in the Meta Spend metric.
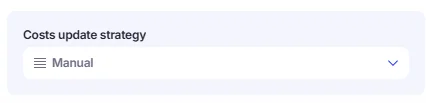
❔You can learn more about how to fetch Facebook ad costs in AIO and transfer them to your AIO Campaigns in the following guide: Autofetch Facebook Ad Costs in AIO.
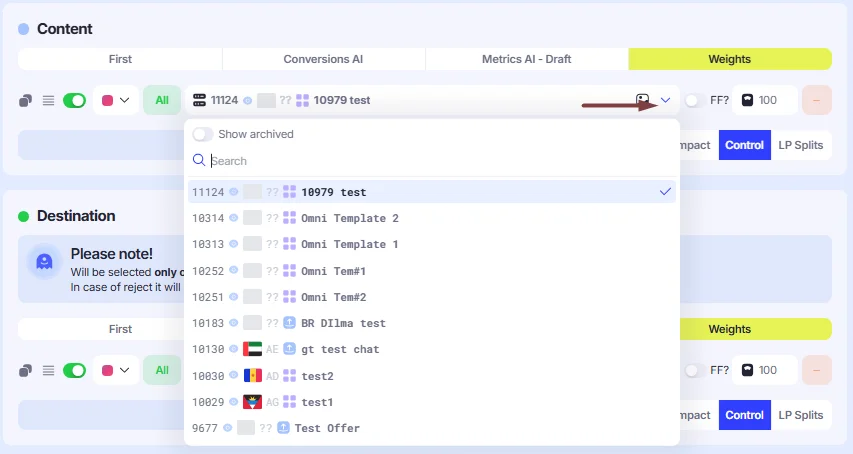
- Fill in the available Campaign steps (e.g., White, Preland, Offer, Destination)—these steps vary depending on the Flow type selected earlier. You can select the necessary items for each step of the campaign using the drop-down lists.
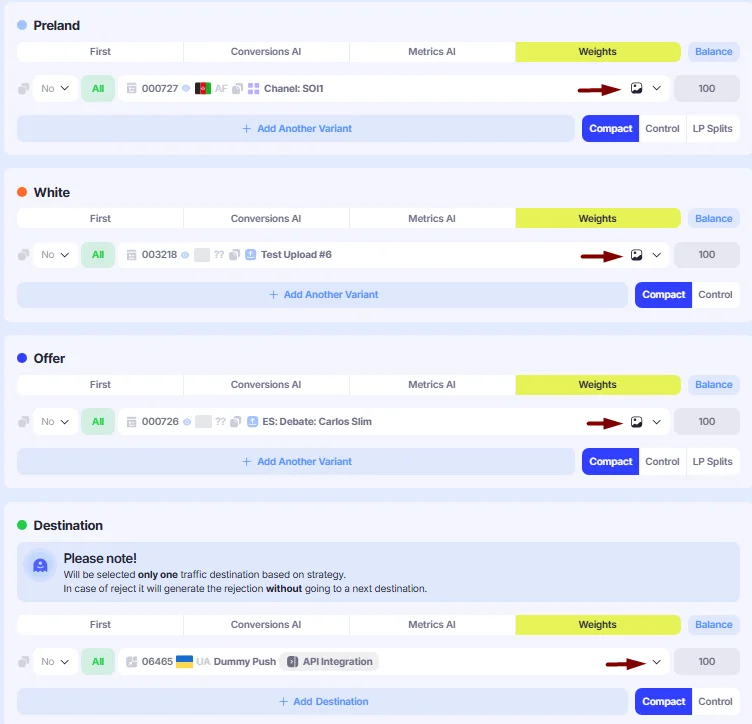
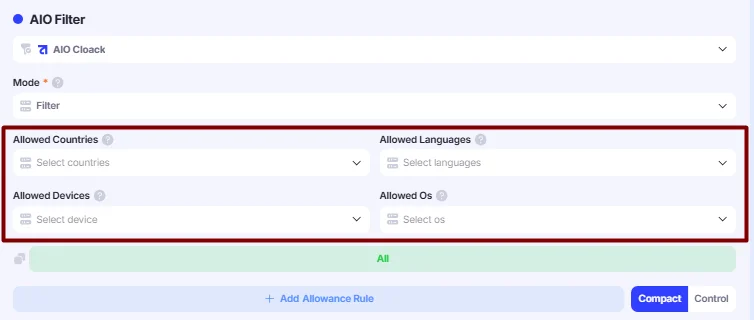
If your Flow includes a traffic filter, you have an option to fill in four extra fields:
- Allowed Countries – specify the countries you want traffic to come from.
- Allowed Languages – define which browser languages are allowed.
- Allowed Devices–define which devices are allowed.
- Allowed OS–define which OS are allowed.
- Once you’ve completed the setup, click the Save button.
The campaign setup is complete, and you can edit it at any time to adjust its parameters. Now, let’s generate a link.
Generating a Tracking link
There are three ways to access the Link Generator.
- Via the action menu.
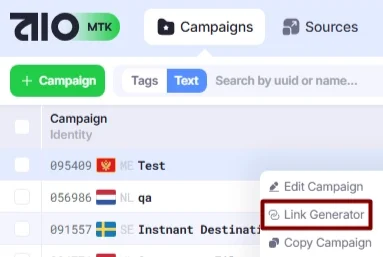
1. Right-click on the desired Campaign and select Link Generator from the Action Menu.
- Select the domain and traffic source from the drop-down lists. Optionally, you can assign a Link Generation Name to your link to make it easier to find later in the link History.
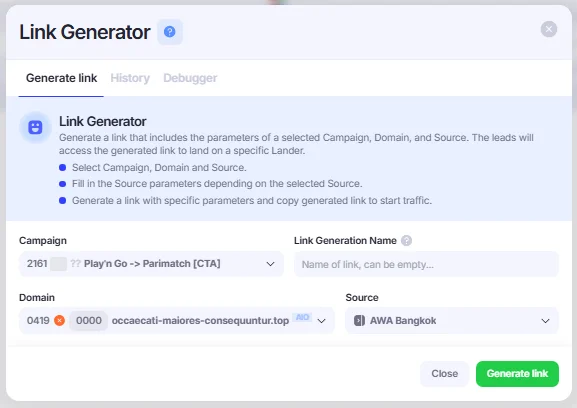
- Click the Generate Link button. Once generated, you can copy the link and use it to launch your campaign.
- Via the Edit Campaign window→Link Generator.
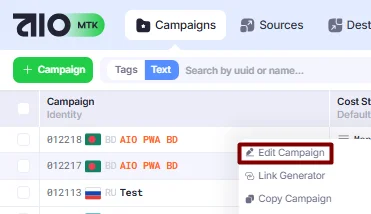
1. Right-click the desired Campaign and select Edit Campaign from the Action Menu.
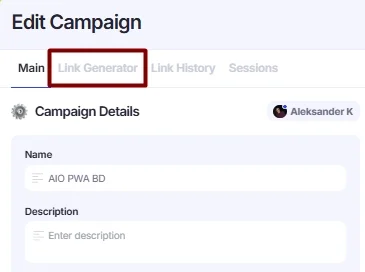
- Click the Link Generator tab in the Edit Campaign window. You will be redirected to the Link Generator.
- Via the Edit Campaign window→Link Source.
- Right-click on the desired Campaign and select Edit Campaign from the Action Menu.
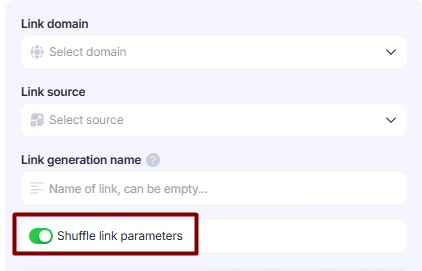
- In the editing window, fill in the following fields: Link Domain, Link Source, and any other fields associated with the selected source.
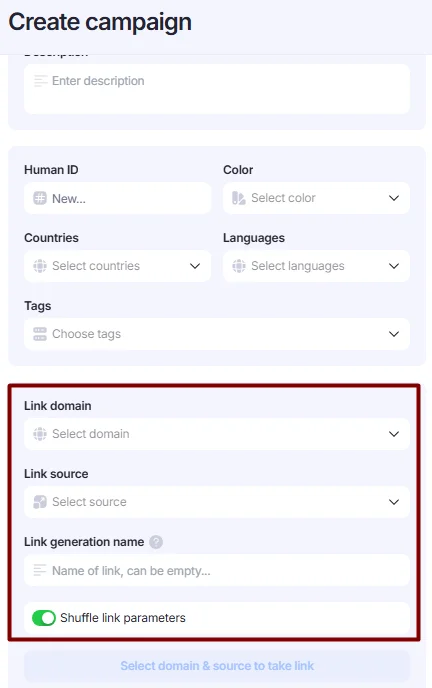
You can use the Lock campaign to this domain toggle to prevent the campaign from opening with any other domain. By default, you can generate a link for any campaign using any domain added to AIO, but this toggle ties the campaign to a specific domain, and links with other domains will not open.
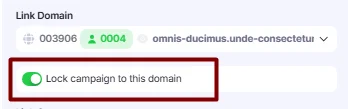
The Shuffle link parameters toggle determines whether the parameters in the generated link are arranged in a random order. Links with both shuffled and non-shuffled parameters work equally well. However, shuffled parameters can help reduce the likelihood of the link being detected by spy services.
For example, the default link has the following format:
https://exampledomain.com?cuuid=XXX&suuid=XXX&campaign_name={{campaign.name}}&site_source_name={{site_source_name}}&creative_name={{creative.name}}&ad_name={{ad.name}}
When the toggle is enabled, the parameters are added to the link in a random order. For example:
https://exampledomain.com?ad_name={{ad.name}}&cuuid=XXX&campaign_name={{campaign.name}}&suuid=XXX&site_source_name={{site_source_name}}&creative_name={{creative.name}}
- Click the Generate Link button. Once generated, you can copy the link and use it to launch your campaign.
You can learn more about the link generation process and its features in How to Use the Link Generator.