Take First Steps in AIO
Introduction
Before you can start creating and launching campaigns in AIO, there are some basic setup steps you need to complete in your Tenant. This guide outlines the essential steps to get started with AIO and launch traffic as quickly as possible. It includes setting up 2FA, customizing your profile, adding accounts for purchasing servers and domains, uploading Landers, creating Destinations, creating Positions for your team members, and launching your first Campaign.
1. Setting up 2FA
While any user can use AIO without enabling 2FA, we strongly recommend enabling it for added security. Once enabled, AIO will send a verification code to the AIO Tech bot each time you log in (after logging out). Additionally, 2FA allows you to access columns containing sensitive data.
How to set up 2FA:
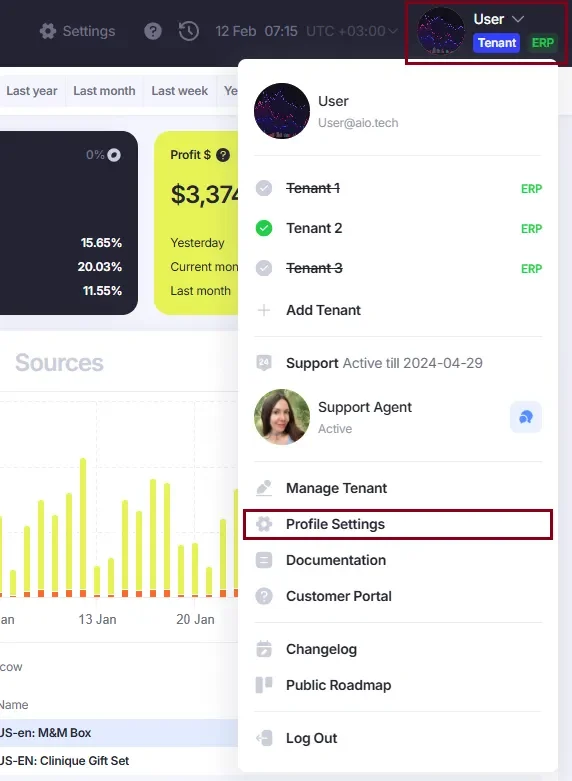
1. Open your Profile Settings in the top-right corner:
- Scan the QR code to access the AIO Tech Bot (or find @aio_tech_bot on Telegram):
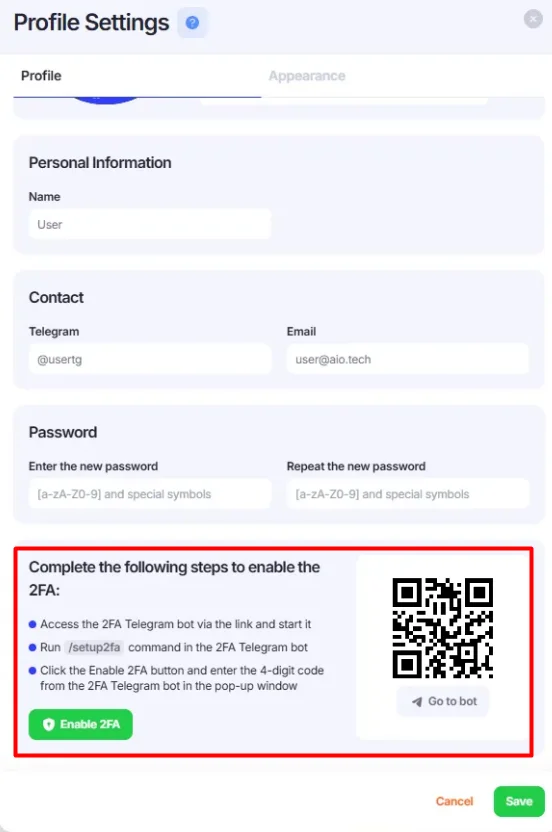
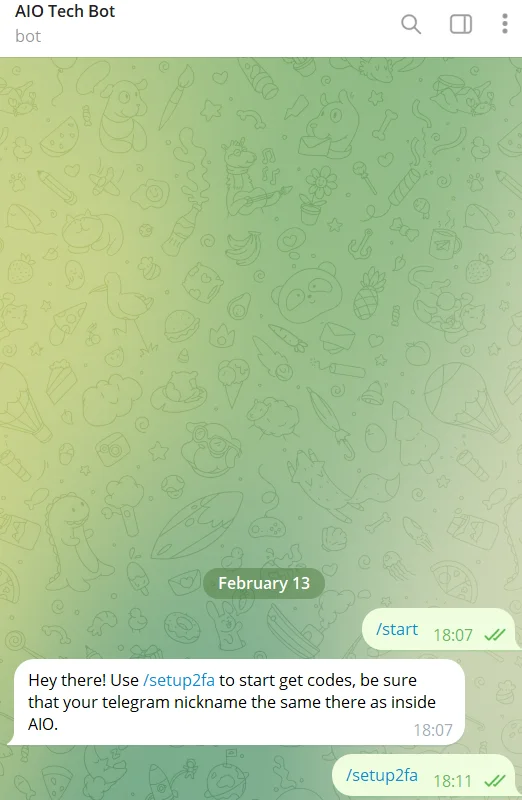
- Run the
/setup2facommand, click the Enable 2FA button, and enter the 4-digit code from the 2FA Telegram bot in the pop-up window.
2. Adding Accounts and Purchasing Domains
You can’t create a tracking link in AIO without a domain, so setting up the necessary accounts is a crucial step before launching traffic.
Before purchasing your own servers and domains in AIO, you need to add your DNS, Server, and Domain Provider accounts.
How to Add Accounts
- Proceed to Settings→ DNS Providers, Domain Providers, Server Providers.

- Add a new account in any of the respective sections by clicking the green +Provider button. To purchase domains within AIO, you need to add at least one DNS, one Server, and one Domain Provider

Once all accounts are added, you need to create a server and purchase a domain.
How to Create Servers
- Go to Settings→ Servers →+Server.

- If you already have a server hosted with another provider, select Add Manually. If you have added a server provider to AIO and want to purchase a server through AIO, select Buy a Server.
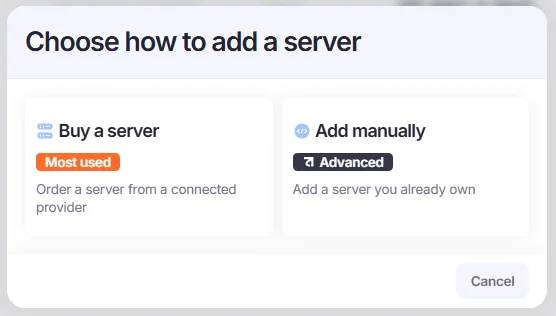
- Fill in the required fields.
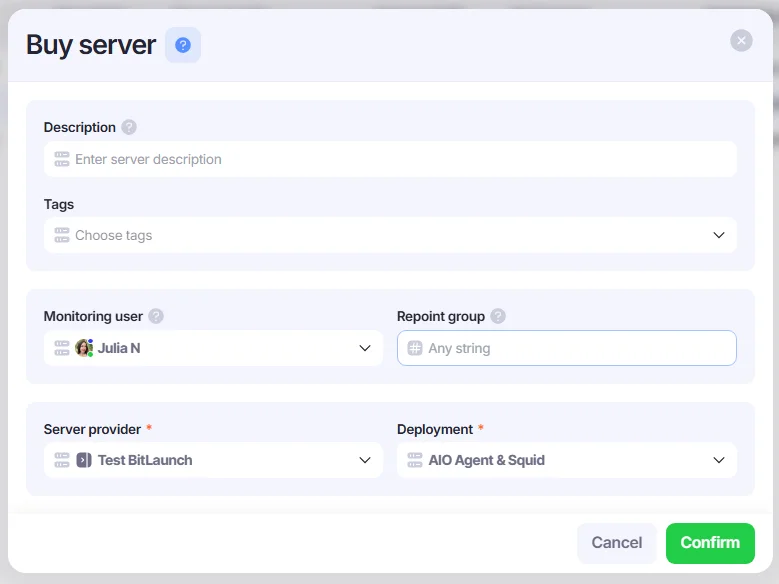
For the Buy Server option:
- Server Provider: Select the Server Provider account you added earlier.
- Monitoring User: Select a monitoring user who will receive notifications from the AIO Tech Bot when the server is down or up again. Only users with 2FA enabled can be assigned this role.
- Repoint Group: Enter any value. Repoint groups help organize and assign domains to specific servers during autorepointing, preventing domain/server mixing across different verticals.
- A Monitoring User is a user assigned to receive notifications via the AIO 2FA Telegram bot if a server or domain goes down. Only users with 2FA enabled can be assigned this role.
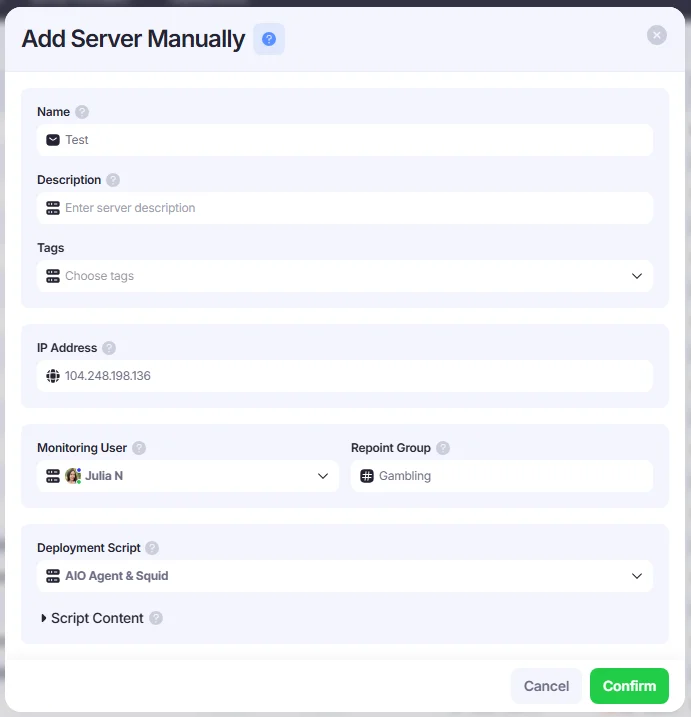
For the Add Manually option:
- IP Address: Enter the IP address of your server.
- Monitoring User: Select a monitoring user who will receive notifications from the AIO Tech Bot when the server is down or up again. Only users with 2FA enabled can be assigned this role.
- Repoint Group: Enter any value. Repoint groups help organize and assign domains to specific servers during autorepointing, preventing domain/server mixing across different verticals.
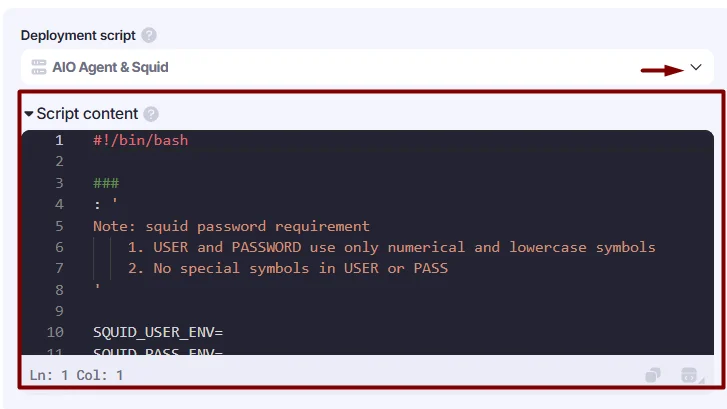
- Deployment Script: AIO Agent&Script. Copy the script from the Script Content field and deploy it on your server to install the AIO Agent.
- Click Confirm to save the changes.
Once the server is added, you can purchase a domain.
How to Add Domains
- Go to Domains→+Domain.

- Select whether you want to add a domain manually to AIO or purchase one. Alternatively, you can add multiple domains at once. To do so, select either Buy Domains in Bulk or Add Manually in Bulk.
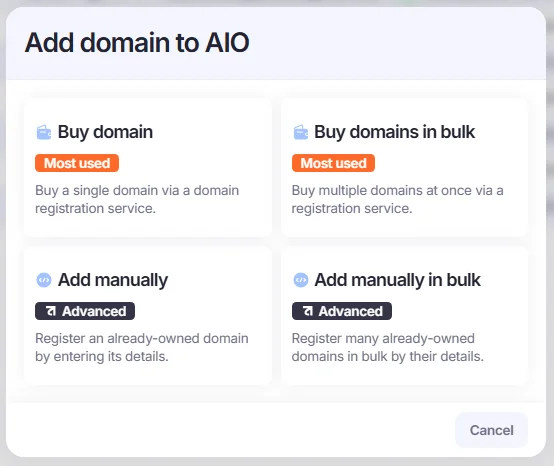
- Fill in the required fields.
For the Buy domain option, select the Domain Provider, Server, DNS Provider, and Monitoring User, and enter the domain name you wish to purchase, or generate a random one by clicking the refresh button.
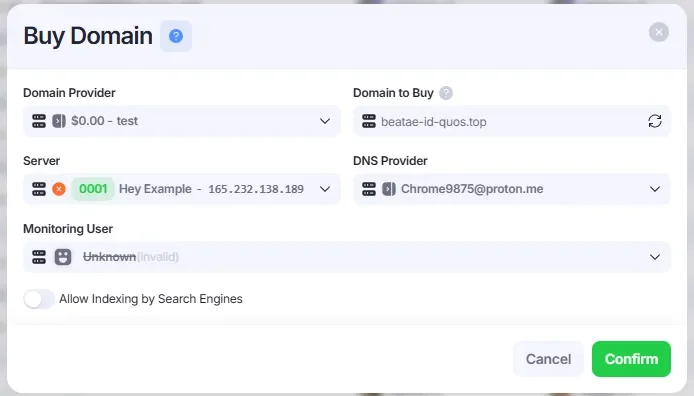
For the Add Manually option, first you need to change your domain's NS (Name Servers) to the correct DNS provider, one that is already available in the system. After that, enter the domain name, select Server, DNS Provider (that you previously set as the domain’s nameserver), and Monitoring User.
This guide only covers the basic steps for managing accounts and adding servers and domains. For more details, please refer to Work with servers, domains, and DNS in AIO.
3. Uploading Landings
If your Flow includes any Content steps (e.g., Preland, Offer, White Page), it's important to upload the necessary landing pages into AIO in order to build a Campaign.
To view, edit, or add Landings, go to Landings. Press +Landing to upload a new one.

Please refer to How to Upload Landings to AIO for a step-by-step guide on uploading and editing landings.
4. Creating Sources
Sources in AIO are pre-configured link templates that allow you to generate links for various traffic sources (e.g., Facebook Ads, Google Ads, TikTok). It is essential for generating a Campaign link.
Your Tenant comes with a pre-configured, ready-to-use Source for Facebook CAPI. If this is the exact source you are using, you don’t need to add any new Sources and can skip this step.
However, you can edit the existing one or create copies with slight modifications.
To view, edit, or add Sources in your Tenant, go to Sources.
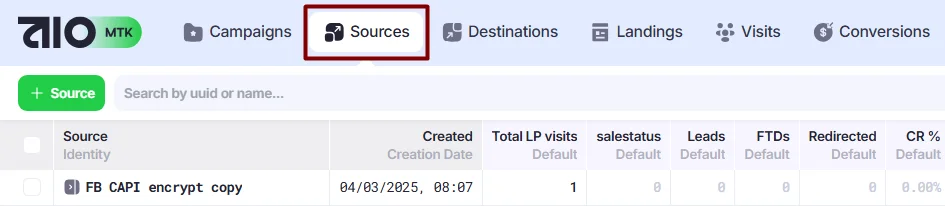
*All added Sources are available for selection when creating a Campaign link in Campaigns→Link Generator.
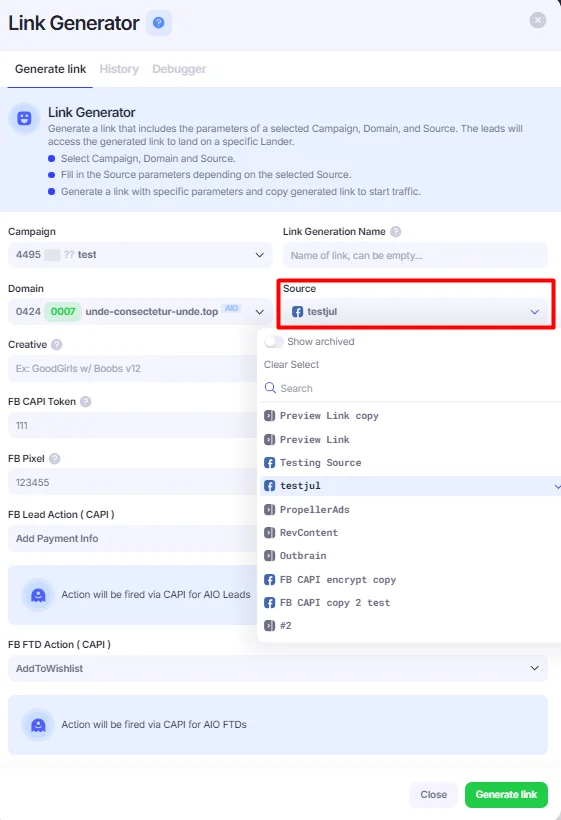
Please refer to How to Create a Source to learn how the Sources work and how to configure them in AIO.
5. Creating Destinations
In general terms, a Destination is the platform where you are sending leads. You can send leads either via API (e.g., to IREV, Getlinked, Trackbox, etc.) or through simple redirect URLs.
AIO provides several pre-configured API templates for Destinations that you can select from. If the required API template is not available, we can add a new one for you— please contact AIO Support to provide us with the API documentation and the necessary credentials.
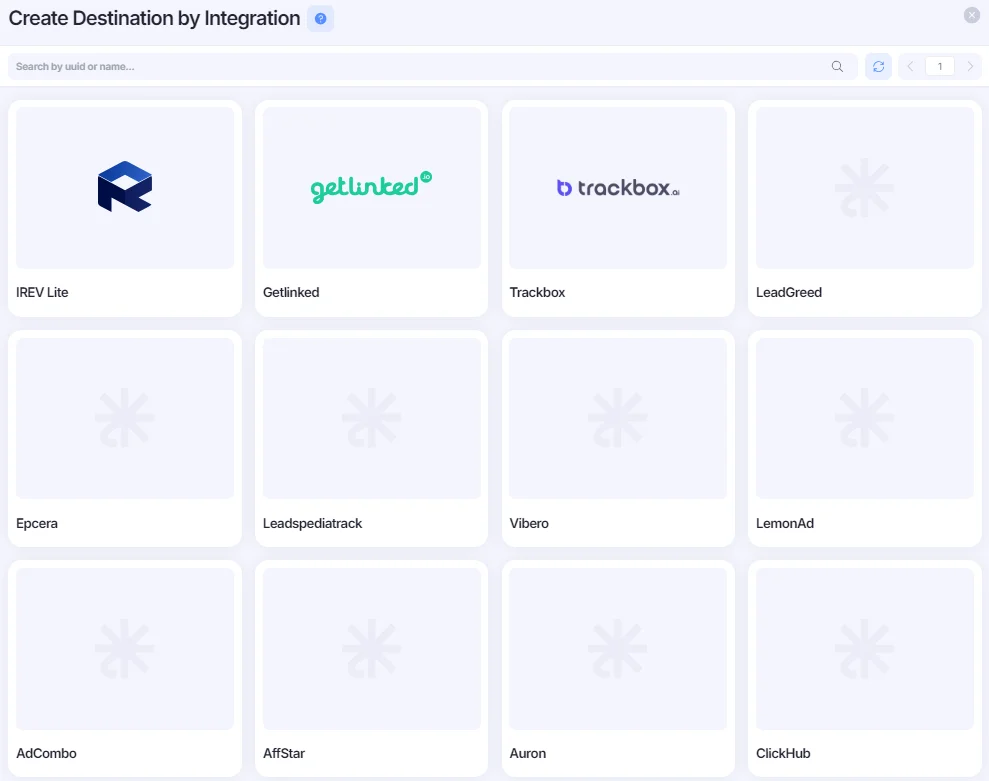
If you are sending leads via redirect URLs or do not require new API integrations, you can start creating new Destinations immediately.
1. To view, edit, or add Destinations to your Tenant, go to Destinations.

- In the Add Destination to AIO pop-up window, select the method for adding the Destination to the platform.
- Simple Redirect is used for non-API integrations when only a redirect URL is required.
- By Advertiser allows you to create an integration for a specific advertiser that you previously added to AIO. To learn how to add new advertisers, see this section below: How to Create Advertisers.
- By Integration allows you to create a Destination based on an API template already available in AIO. This option helps you integrate directly with an external platform's API.
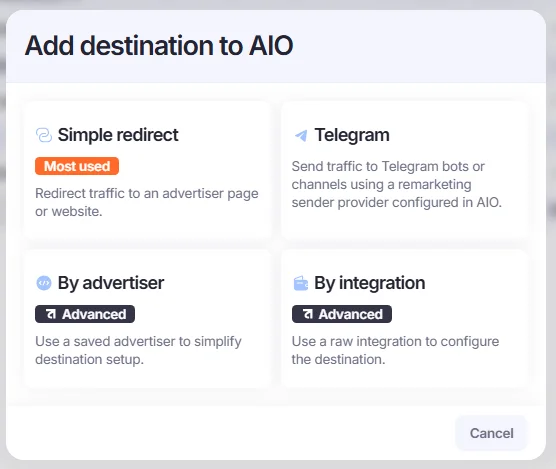
Please refer to How to Create a Destination for a step-by-step guide.
Once you configure a Destination, it is necessary to set up postbacks to receive the conversion data in AIO. Please refer to How to Work with Postbacks.
6. Starting your first Campaign
Creating Campaigns is the key step that unites previously added Sources, Landings, and Destinations. This is the section where you and your team will spend most of your time in AIO launching traffic and monitoring the results.
To view, edit, or add Campaigns, go to Campaigns.

To generate a campaign link, right-click on the desired Campaign and select Link Generator.
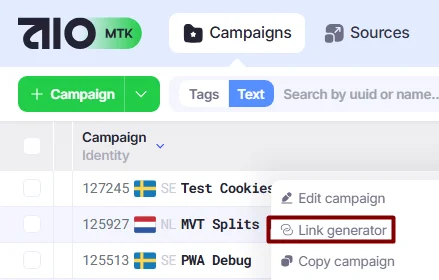
Alternatively, you can access the Link Generator from the Create/Edit Campaign window in the Link Source or Link Generator windows.
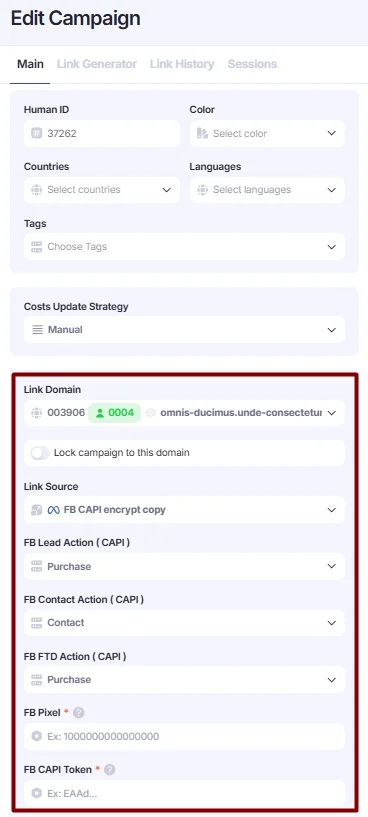
Please refer to Set Up a Campaign and Generate Links for step-by-step guidance.
7. Creating Positions
If your team members have different roles and you want to adjust their visibility settings or create personalized workspaces, you can create Positions.
This guide will outline the basic steps; however, for detailed instructions and explanations, you can refer to How to Set Up Positions, Teams and Sharing.
Users and their roles
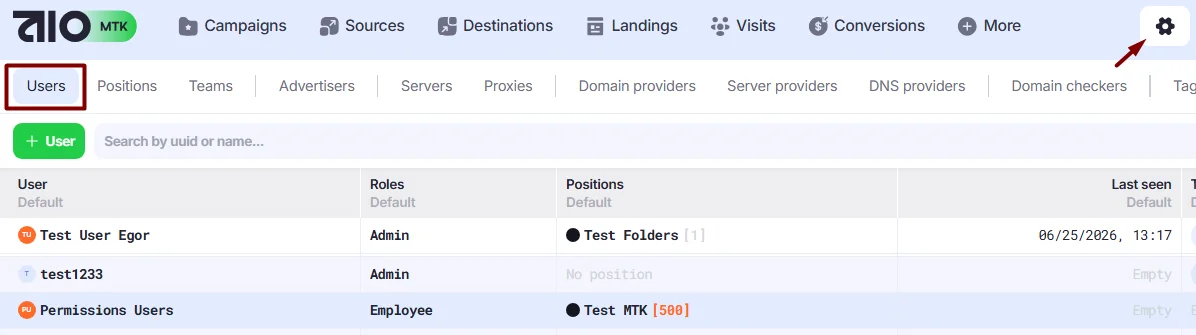
You can view all the Users added to your Tenant in Settings→ Users, along with their current Roles and Positions. All users have either an Owner/Admin or Employee role. Users with an Owner/Admin role can view all entities added to the system (Campaigns, Domains, Landings, etc), while Employees have restricted access and can only view entities that have been shared with them).
Positions
Positions are designed to control which tabs and sections in AIO are visible to users assigned to a specific Position. For example, if you have a Landings QA team, you can create a Position that grants access only to the Landings section, limiting the user's view to the relevant part of the platform.
To create a new Position, go to Settings → Positions, press +Position, and select all the system parts that this Position should be able to view.

Teams
If you don't have a large team, you can operate without creating Teams. However, if you do, Teams allow you to create personalized workspaces for different buyer teams, where each team can access only their own Campaigns, Landings, Domains, and other relevant objects.
To create a new Team, go to Settings → Teams, press +Team, and select users.

Sharing
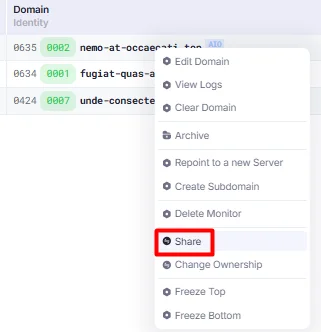
All users with an Employee role can only view the Campaigns, Domains, Landings, or other entities that have been shared with them, while Admins and the Owner can view all objects by default. To share an object with a User or a Team, right-click on the object and select Share.