Upload Landings to AIO
Introduction
This guide will walk you through uploading and managing landing pages in AIO. By following these steps, you’ll ensure your landing page is properly uploaded and configured.
Requirements for Landing Pages
All landing pages uploaded to AIO are processed and then uploaded to our CDN. Therefore, for a successful upload, it is important to ensure that all files (such as CSS, images, etc.) are included in the archive and stored locally. Once the landing page is uploaded, all files are stored on the CDN, while the HTML index of pages and subpages is saved in AIO and displayed under Landings.
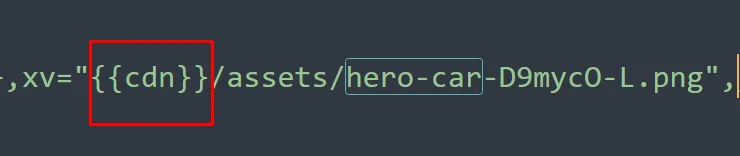
❗For image paths inside JavaScript files, you can add {{cdn}} before /assets, and they will be processed correctly and served through the CDN.
There are websites for downloading landing pages, such as https://saveweb2zip.com/en. By providing a landing page URL, it automatically downloads all linked resources, organizes them into folders, and adjusts the paths to ensure they are correct and local.
Requirements for the landing page .zip archives:
- The ZIP archive must not exceed 200 MB.
- Ensure that all necessary assets are included in the archive and referenced correctly.
- The
{{link}}tag should be placed where you want to redirect users to the next step of the flow on the page. This could redirect to the offer page, a Destination, or any other step. This tag acts as a dynamic placeholder for redirection. - The
{{form}}tag should be inserted where you need a form in your index.html.
Examples of correct zip archives:
form-landing-example.zip (910 KB)
button-preland-example-landing.zip (13155 KB)
1. Prepare Your Landing Page
- Prepare your landing page archive.
Ensure that the root of your ZIP archive contains an index.html file.
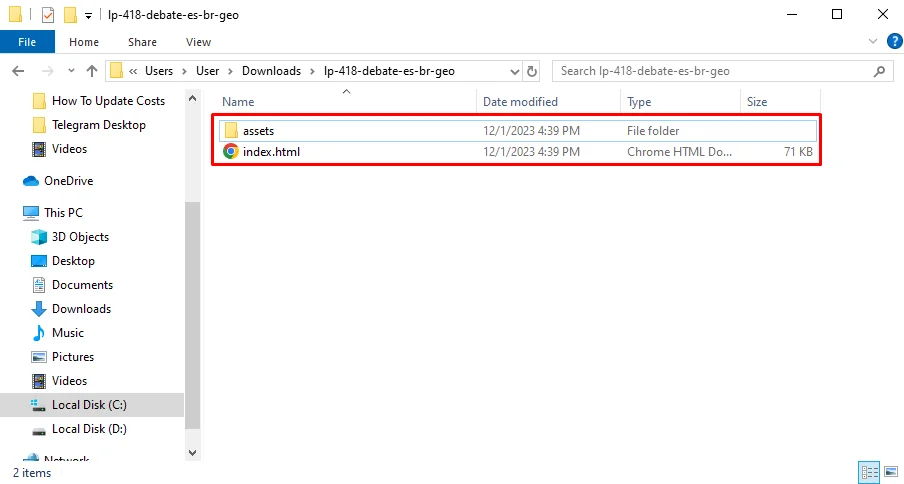
index.html placed in the root of the archive.- Place Redirect Links.
When a redirect link is required on your landing page, insert the {{link}} tag in the appropriate location. This allows the AIO system to automatically redirect the Visitor to the next step of the Flow.
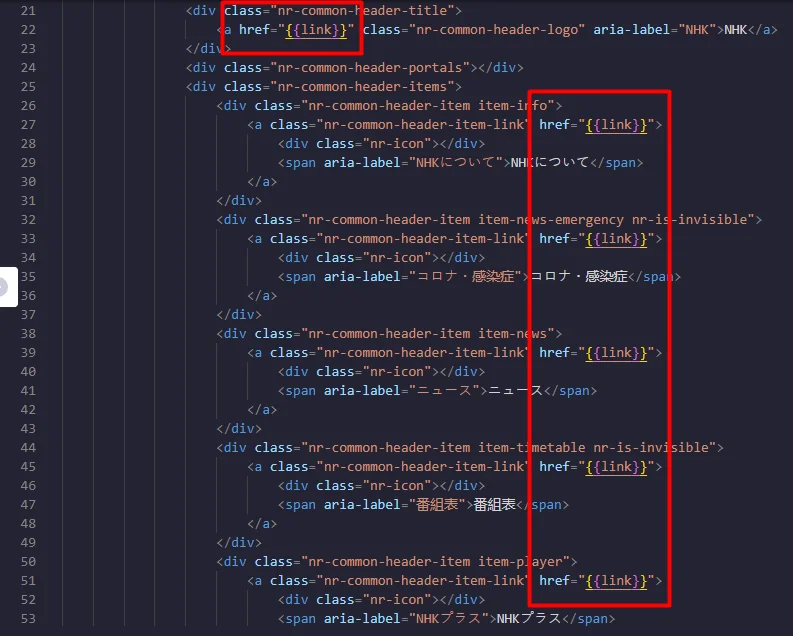
{{link}} tag usage example. - Integrate Form.
Insert the {{form}} tag at the location where a form is required on a landing page. This allows the AIO system to automatically integrate a form into a landing page.
AIO SDK form can be customized. Please refer to Customize AIO SDK Form to learn more., or Add Forms to Landings to use your form.
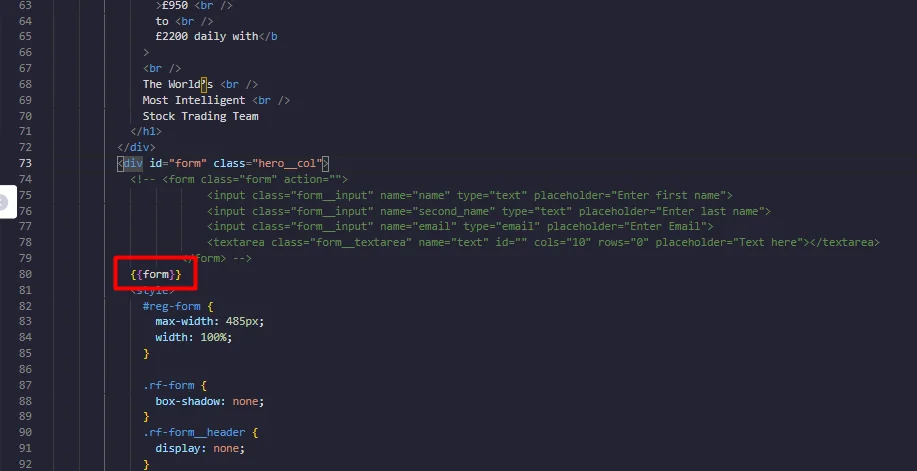
{{form}} tag usage example. - Add Macros.
To enable macros and special functionalities of the AIO system on your landing page,
the {{aio:head}}and {{aio}} tags will be automatically added to the landing's HTML during the upload process. The {{aio:head}} tag is placed in the header, while the {{aio}}tag is inserted before the closing </body> tag.
The {{aio}} tag imports all necessary scripts and macros from the AIO SDK Macros Collection, ensuring your landing page functions correctly within the system. The {{aio:head}} tag ensures that macros with a preferred placement of "head" are processed in the header of the landing page. You can define the preferred placement of any macro by going to Settings → Macros → Preferred Placement. Macros set to "head" will be processed in the header, while those without a specified placement will default to processing in the footer.
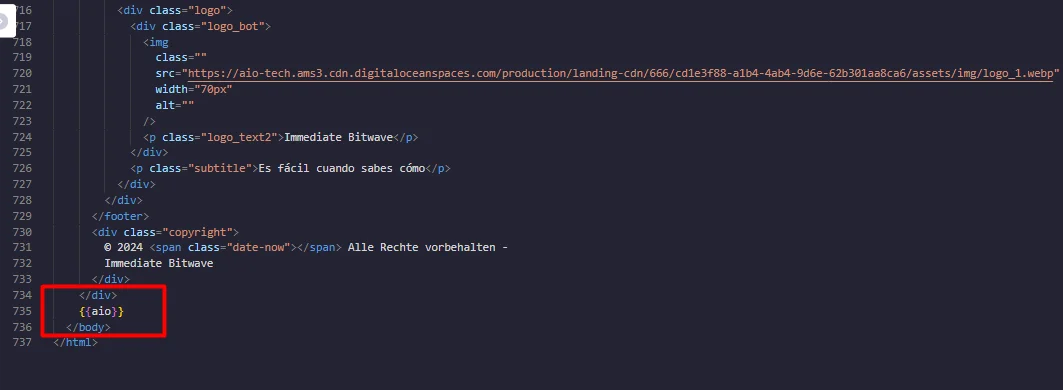
{{aio}} tag.If you have asset paths inside JavaScript files, add the {{cdn}} placeholder in front of them:
While image paths in HTML and CSS are correctly processed when uploading the archive to AIO if stored locally, some asset paths may also appear inside JavaScript files. In those cases, place {{cdn}} before /assets to ensure they are processed correctly.
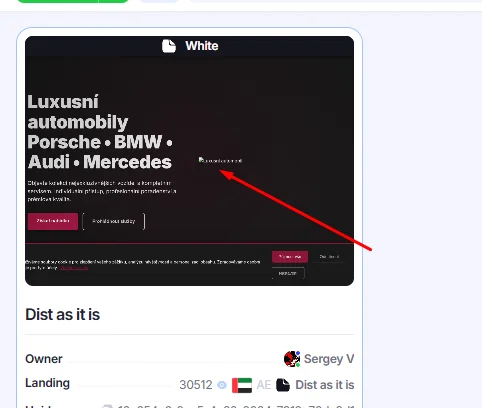
Please note that after uploading the landing to AIO, this type of image will not be displayed in the preview. However, once you generate a link to open the landing page, the image will display.

2. Upload Landing Pages
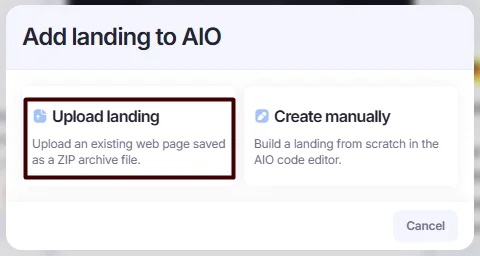
- Go to Landings → +Landing.

- Select the Upload Landing option.
- Fill in the following fields:
- Lander’s Name: Enter the name of your landing page.
- Countries: Select countries.
- Languages: Select languages.
- Lander template: Select Template (Simple by default);
- Lander type: Specify the type of landing page (e.g., Preland, Offer, White).
- Tags: Select tags (e.g., EN, FR, buyer’s name) or create new ones in this window.
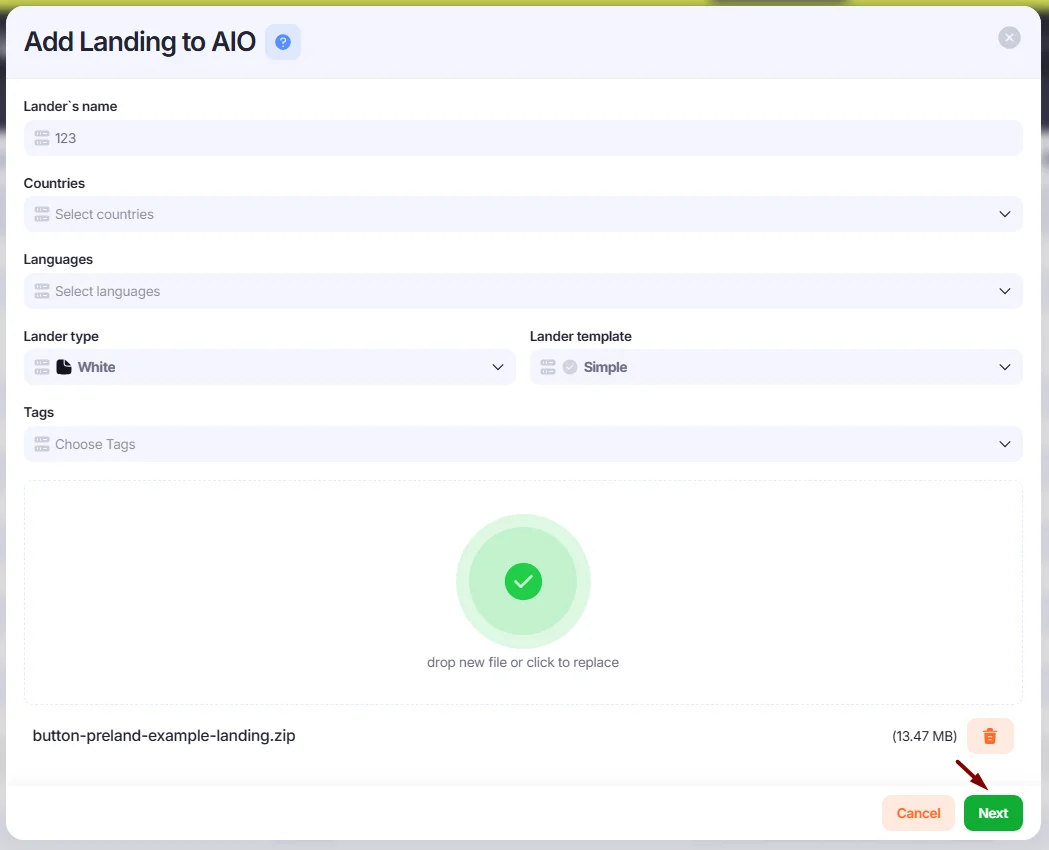
Add Landing to AIO window. - Drop your zip archive or click to upload, then click Next.
3. Edit Landing Pages
After uploading, you can preview the landing page to ensure it's set up correctly and make necessary edits.
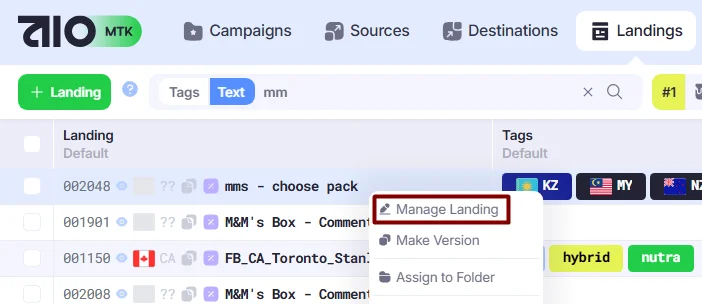
- Right-click the desired landing page and select Manage Landing.
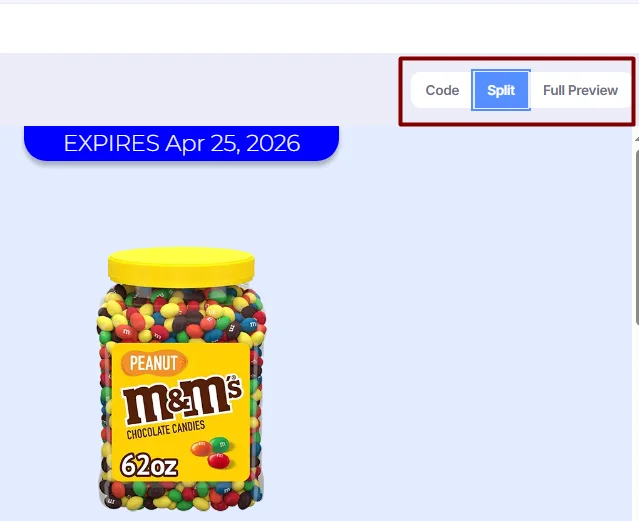
- Use the Code, Split, and Full Preview icons to switch between viewing modes.
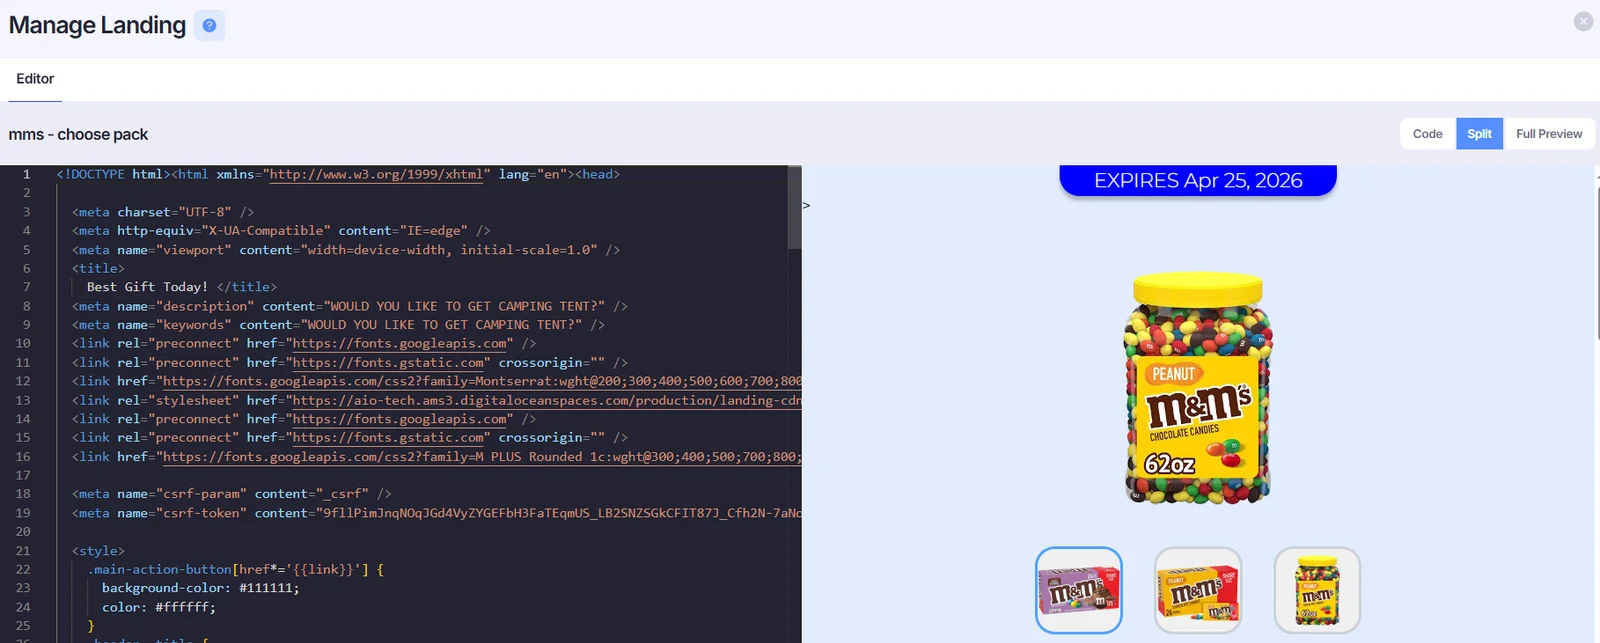
- The HTML can be edited within the Code or Split window.
Note: You can use Vue JS on Landing Pages. Please refer to How To Use Vue JS on AIO Landings to learn more.