Create Destinations
What is a Destination?
Destinations in AIO are templates or configurations used to send visits to third-party advertisers or lead distribution platforms, such as IREV, Getlinked, or others.
Depending on the destination, it can be either an API integration or a simple redirect link.
How to Create Destinations
1. Go to the Destinations section.
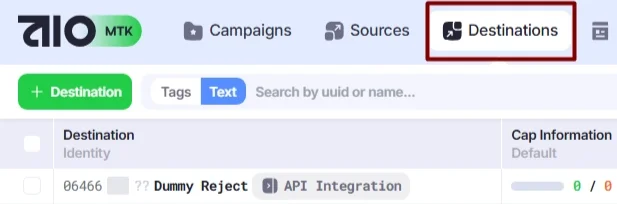
- Click the +Destination button.
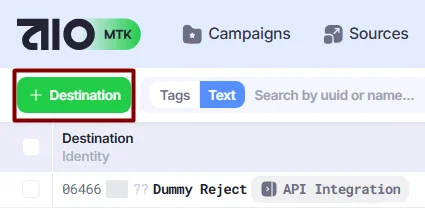
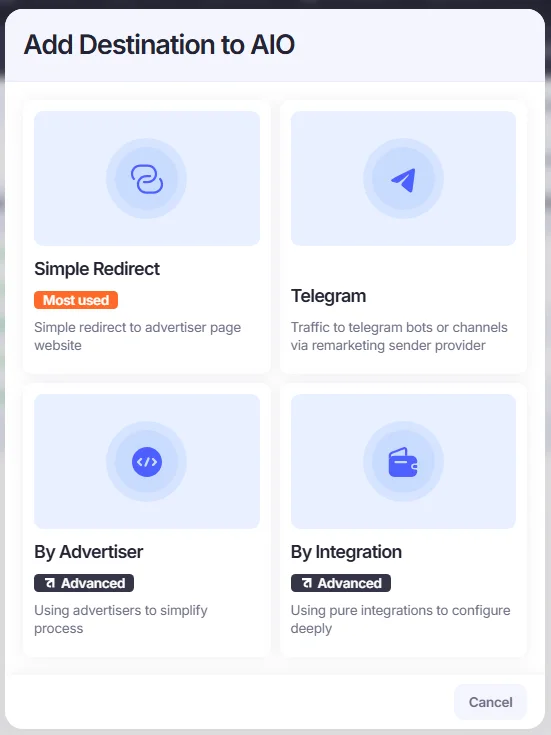
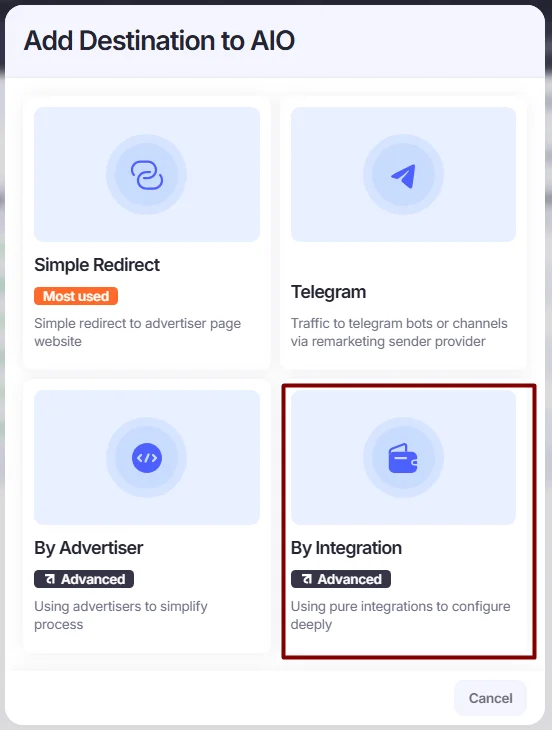
- In the Add Destination to AIO pop-up window, select the method for adding the Destination to the platform.
- Simple Redirect is used for non-API integrations when only a redirect URL is required.
- By Advertiser allows you to create an integration for a specific advertiser that you previously added to AIO. To learn how to add new advertisers, see this section below: How to Create Advertisers.
- By Integration allows you to create a Destination based on an API template already available in AIO. This option helps you integrate directly with an external platform's API.
Add Destination by Advertiser
- In the Add Destination to AIO window, select By Advertiser.
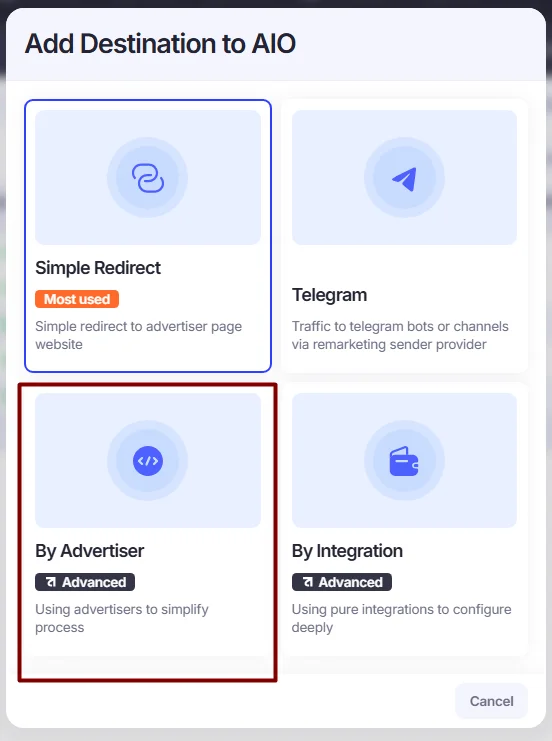
- Select an advertiser from the list of existing Advertisers. If you haven’t added any yet, please refer to this section below: How to Create Advertisers.
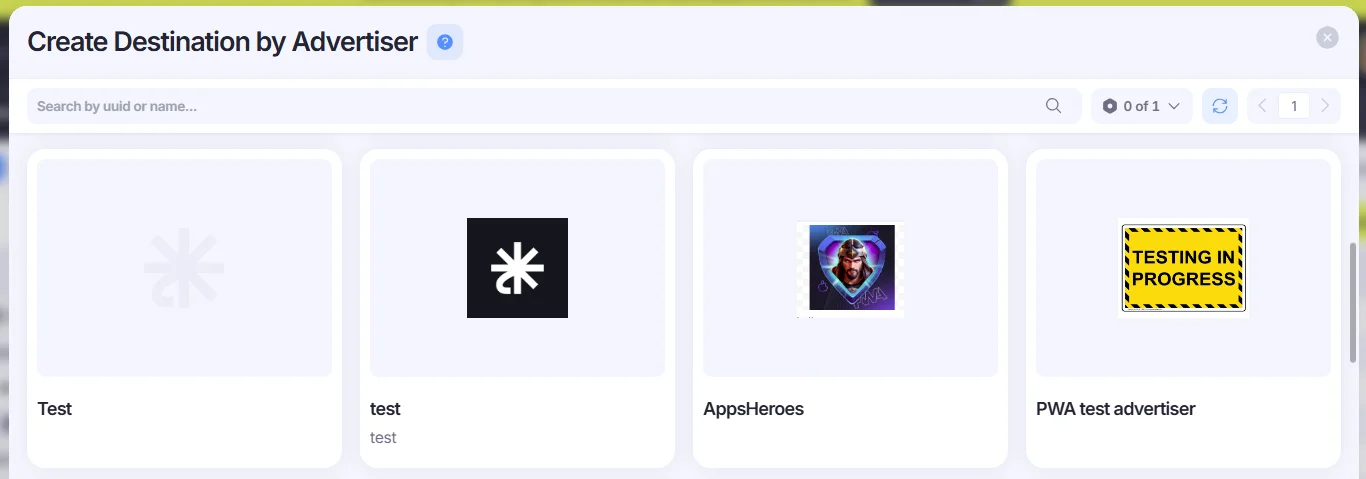
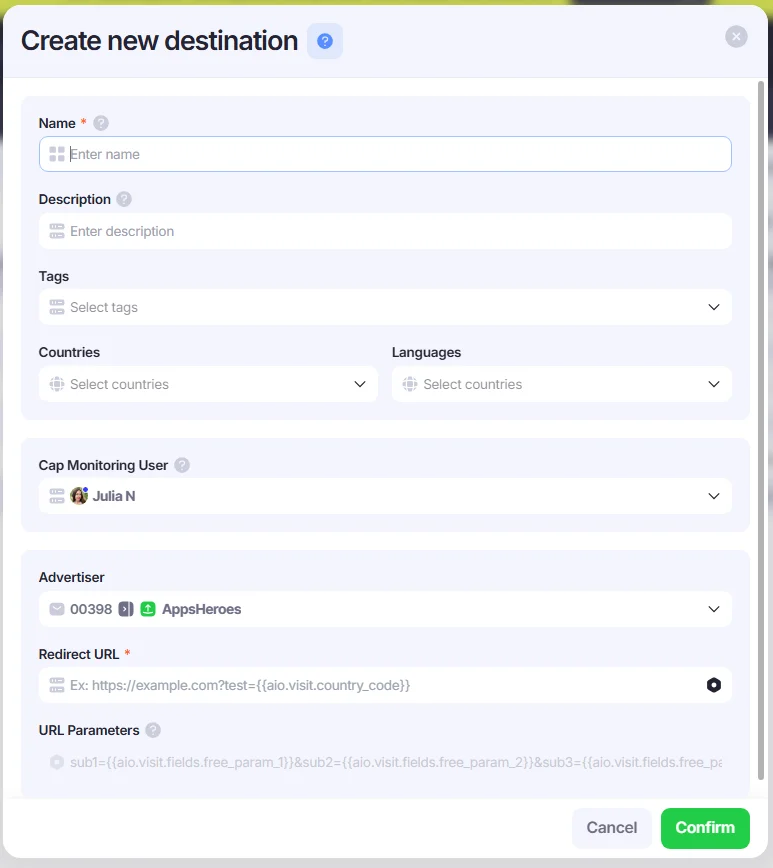
- Fill in the fields:
- Name: enter any name
- Description: enter any description
- Tags: add any tags
- Countries: select countries if needed
- Languages: select languages if needed
- Redirect URL: paste the destination redirect URL
- URL Parameters: preconfigured advertiser parameters will be automatically applied to the link
If you haven’t added any Advertisers yet, you can create one.
How to Create Advertisers
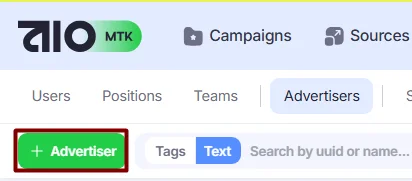
1. To create an Advertiser, go to Settings → Advertisers.

- Click the +Advertiser button.
- In the Create New Advertiser window, fill in the fields:
- Name: enter any name
- Description: enter any description
- Tags: add any tags
- Advertiser Type: select the advertiser type (for redirect links, this is typically Offer)
- Integration Type: select an API integration template if available, or choose Simple Redirect for redirect URLs
- Image: You can upload an image for the Advertiser from your local device.
- URL Parameters: Enter the advertiser’s parameters in this field. These parameters will be automatically appended to the Destination URL when you create a Destination associated with this advertiser. The list of AIO placeholders can be accessed by clicking on the hexagon icon.
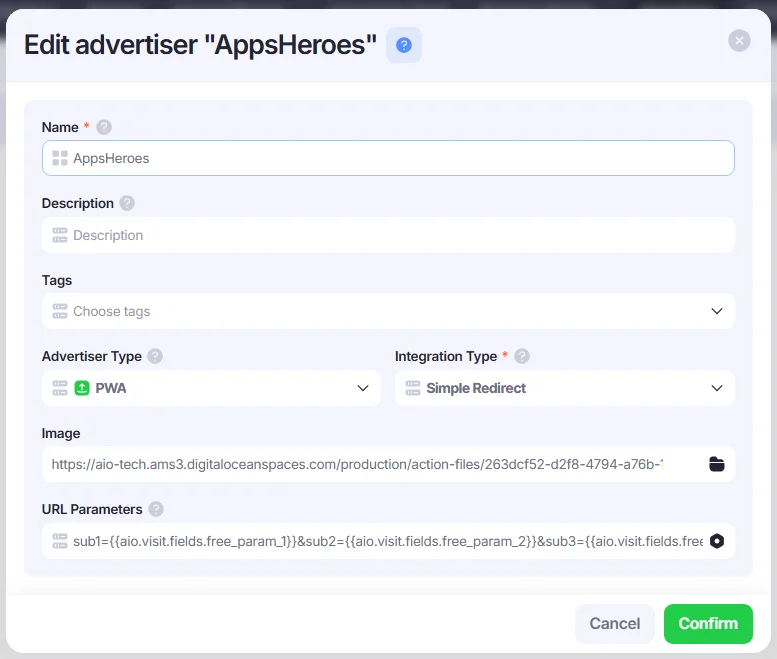
- After filling in the fields and uploading an image, click the Confirm button to create the Advertiser. You can now choose your new Advertiser when creating a Destination by Advertiser.
Add Destinations by Integration
- In the Add Destination to AIO window, select By Integration.
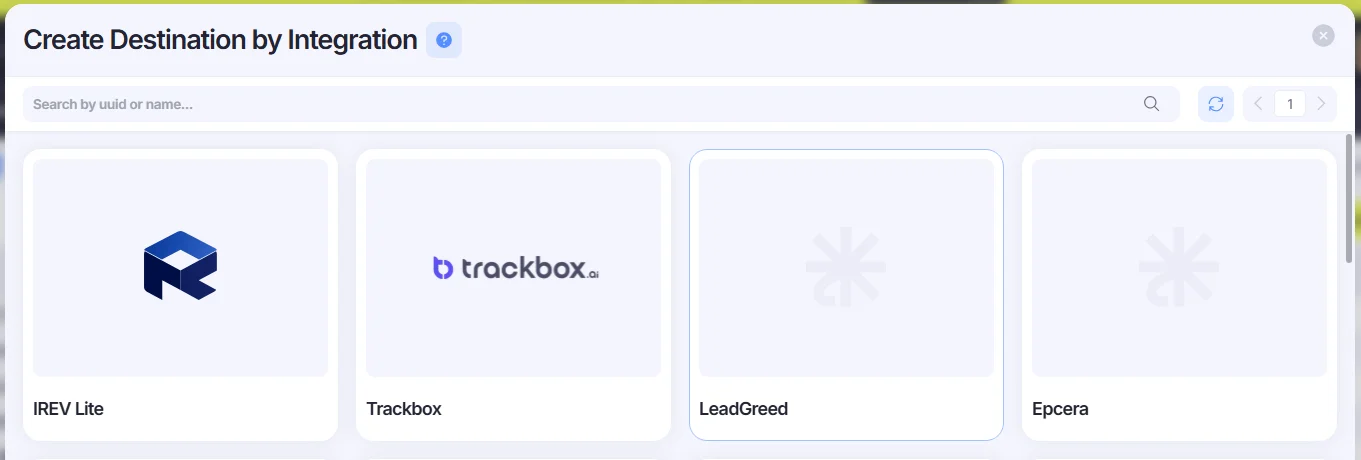
- Select the necessary API template from the list of existing templates.
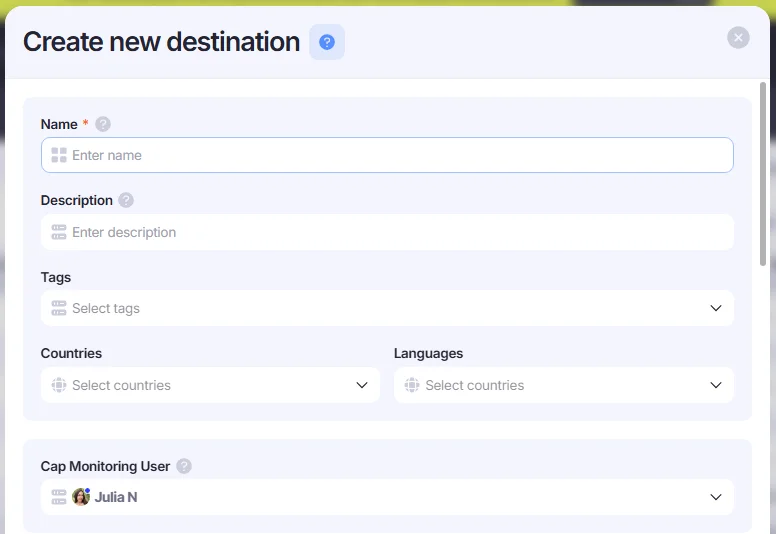
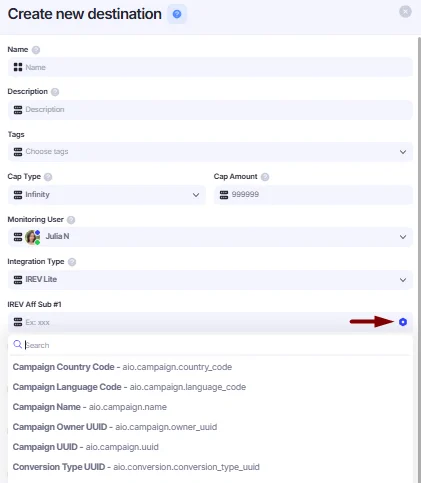
- After selecting the API template, the Create New Destination pop-up window will appear, where you can enter the required parameters. Fill in the fields:
- Name: enter any name
- Description: enter any description
- Tags: add any tags
- Countries: select countries if needed
- Languages: select languages if needed
- Cap Monitoring User: select a user who will receive Telegram notifications when the cap is full (if configured).
Other Destination parameters may vary depending on the platform. Please refer to the API documentation of the platform you are integrating with to learn how to work with the specific parameters.
Below is an example of the IREV Lite API template:
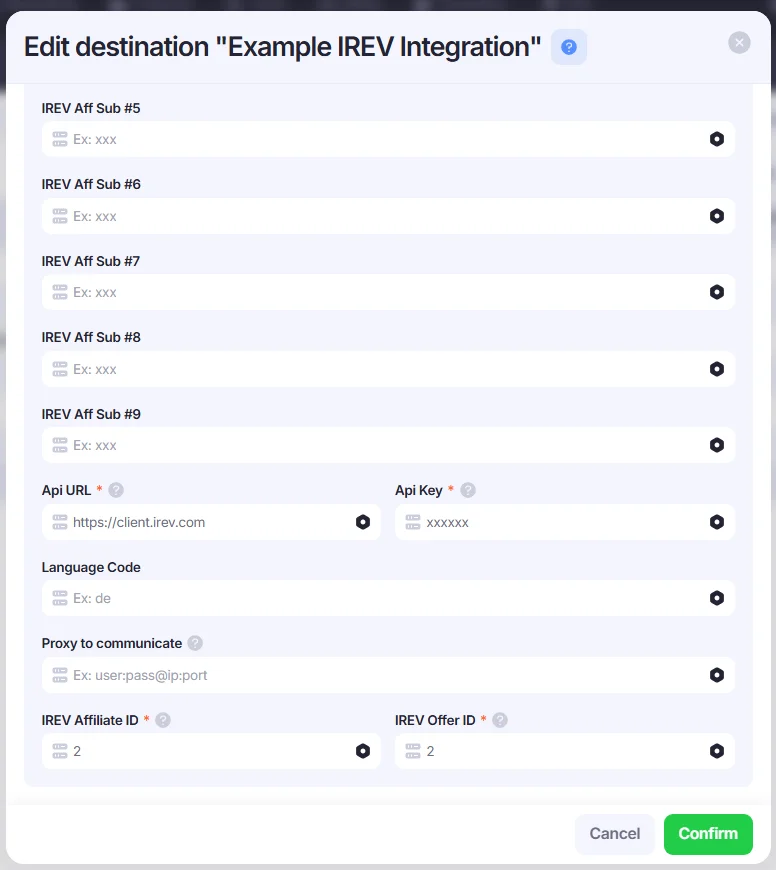
The list of AIO placeholders can be accessed by clicking on the hexagon icon.
The Click ID in AIO is called Visit UUID and is available via the {{aio.visit.uuid}} placeholder.
- After filling in the fields, click the Confirm button to save the Destination.
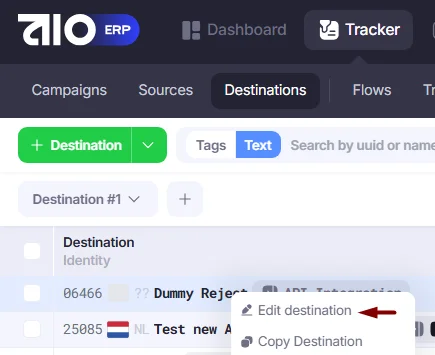
To edit an existing Destination, right-click on the Destination in the table and select Edit destination from the Actions menu.
After you configure a Destination, you must set up postbacks to receive conversion data in AIO. Please refer to How to Work with Postbacks.